Building a Server Room, Part 5: Live, Patched, and Moved In
This is the fifth and final post in a series of five documenting the planning, architecture, and build of a new server room under various building and budgetary constraints.
- Part 1 — Nine Cabinets into Three
- Part 2 — Fibre, Floor, and First Frames
- Part 3 — Passive Infrastructure and the Carrier Handoff
- Part 4 — Power, Cooling, and Connectivity
- Part 5 — Live, Patched, and Moved In
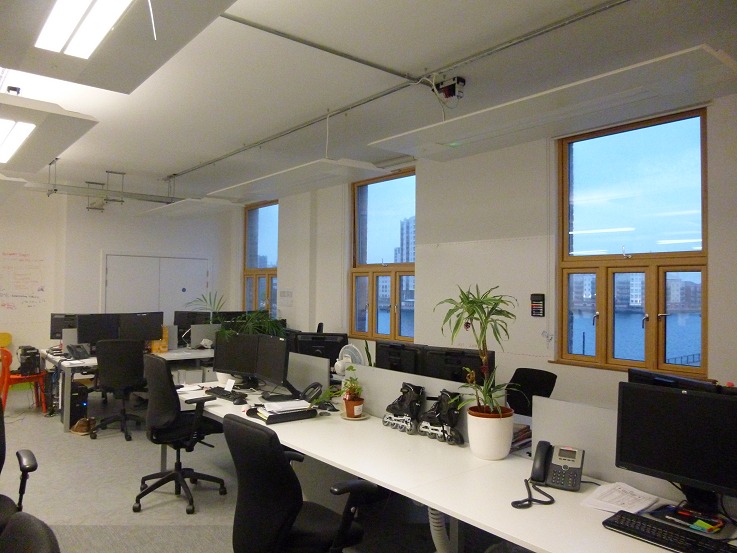
Nearly four weeks on from part 4 (16 September 2014). The room is finished, the kit is racked, the staff have moved in, and the office around it is in daily use.
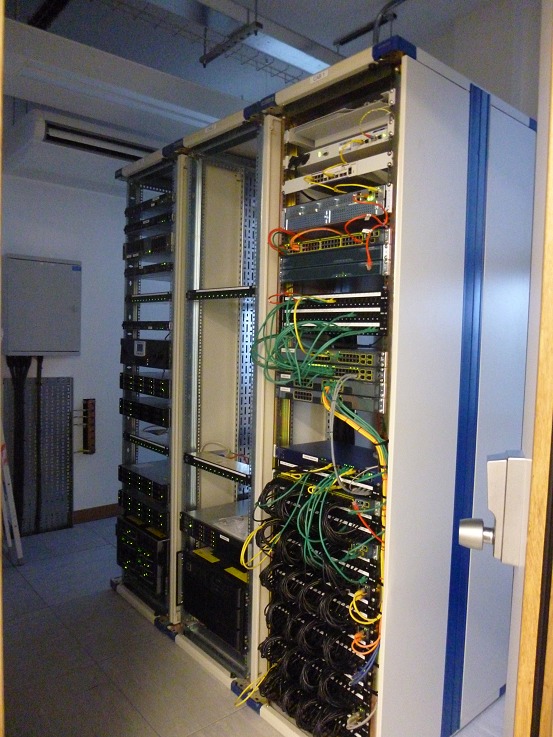
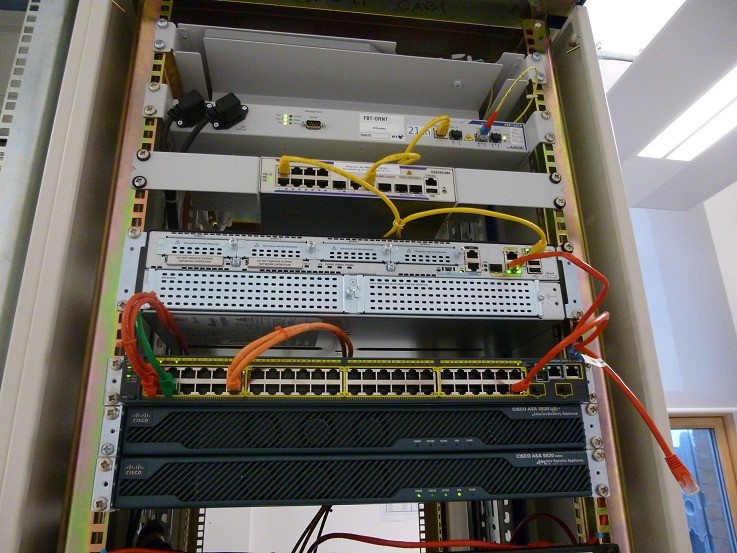
Coloured patch leads make the topology obvious at a glance: which switch a port lands on, which VLAN it’s in, and whether someone has re-patched it by hand.
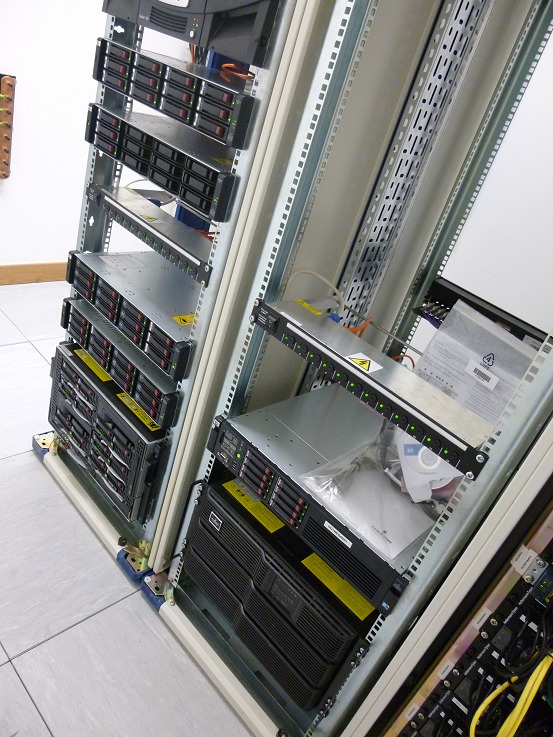
HP c3000 enclosure and SAN units make up the bulk of cabinets two and three. The c3000 was the largest single asset we carried across from the old room, and condensing nine cabinets into three only worked because it was already a blade enclosure rather than a rack of pizza boxes.
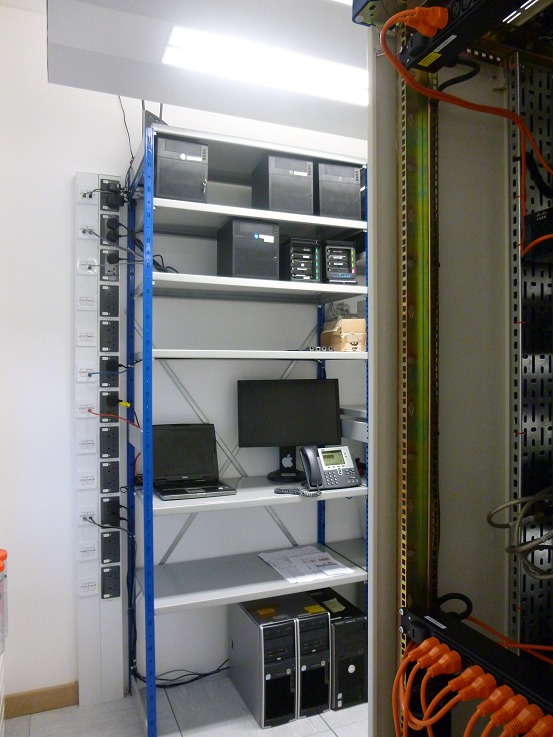
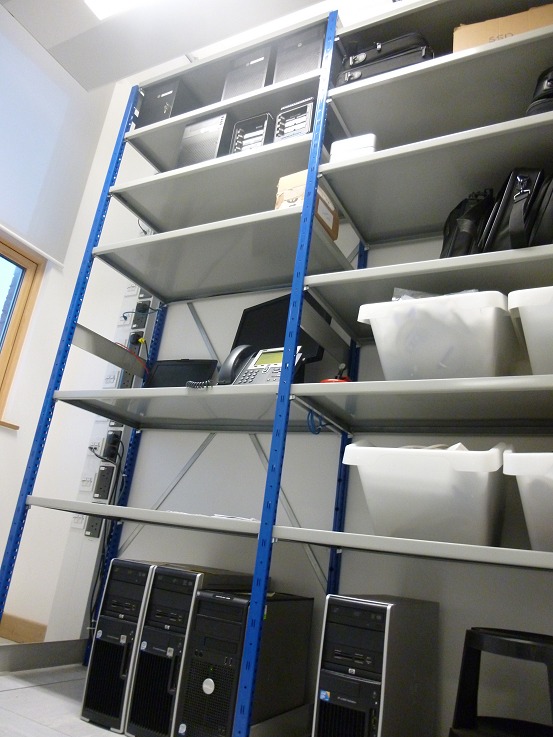
The steel shelving carries everything that doesn’t need to sit in a cabinet: cold-spare desktops, small appliances, a Mac mini, and a hot-swap Cisco VoIP phone ready to drop in if anyone’s desk phone fails.
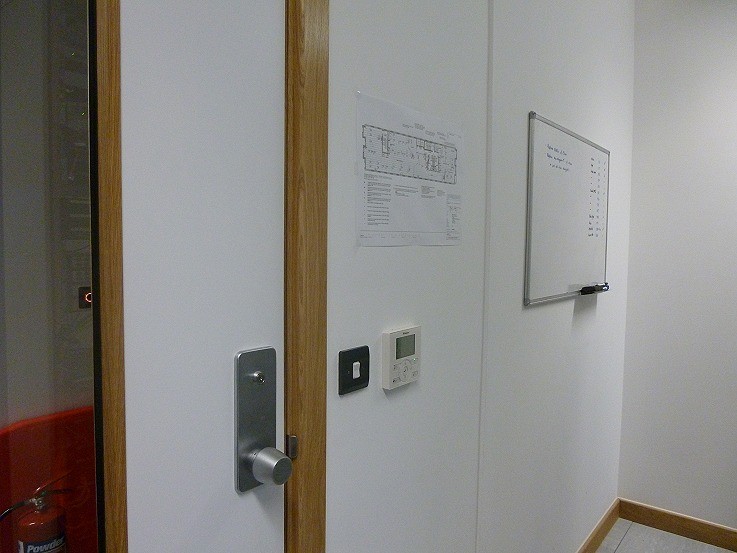
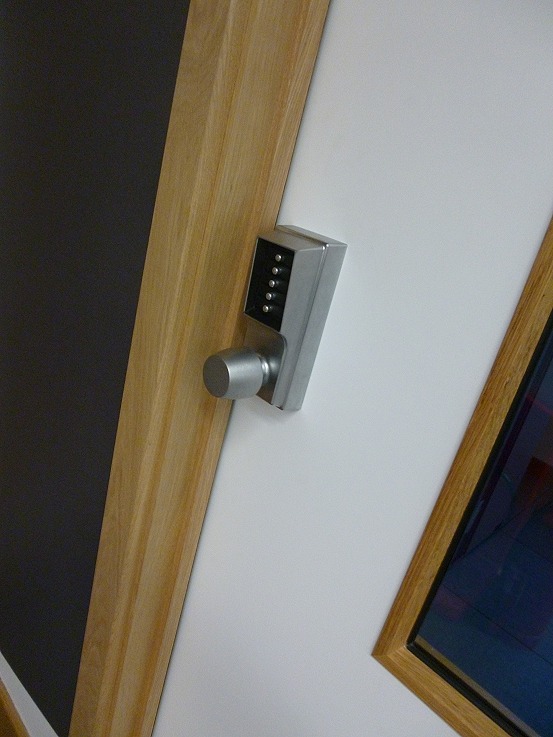
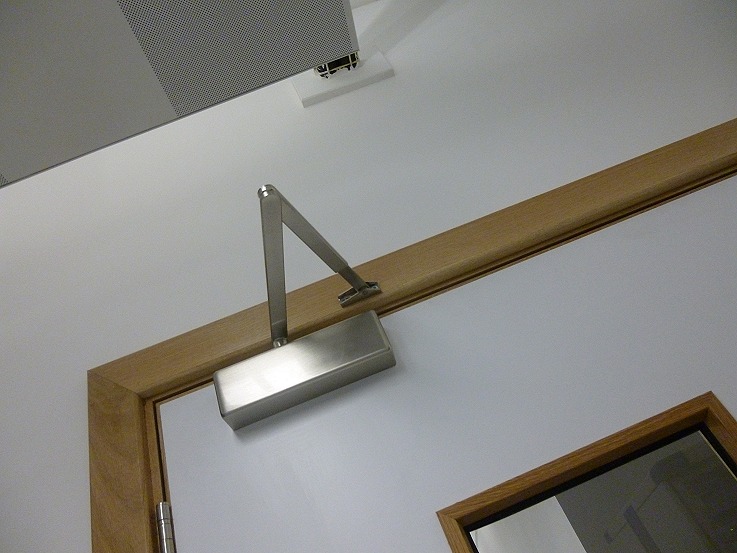
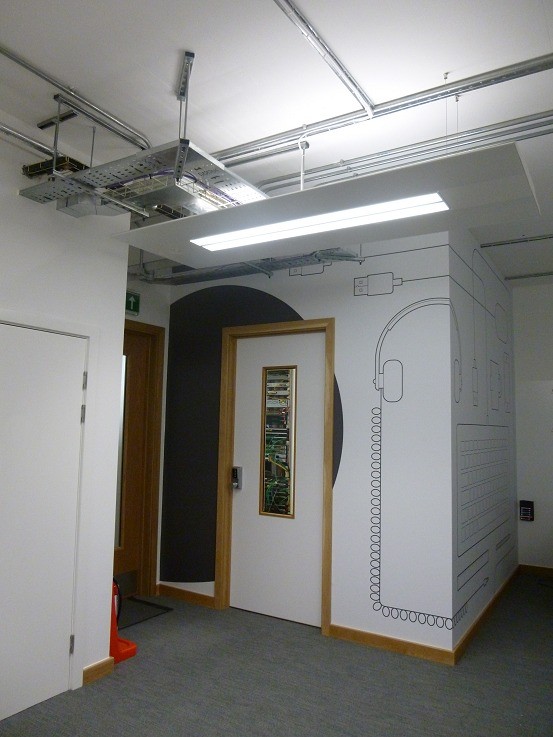
The floor port map prints onto the wall outside the door so anyone tracing a cable doesn’t need to be on the network to find the right port. The keypad is mechanical by choice, fewer moving parts, no batteries, and no software stack to keep on top of.
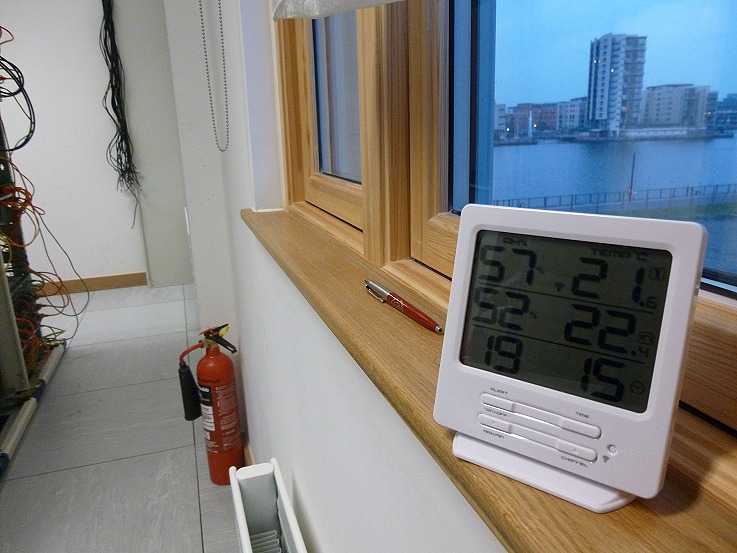
A finishing touch: a temperature and humidity sensor on the sill, with the dockside view as a bonus. It’s a £20 device on day one, with SNMP-capable probes on the order to follow.
All 50 or so staff were online and back on production work by 11am Monday morning.
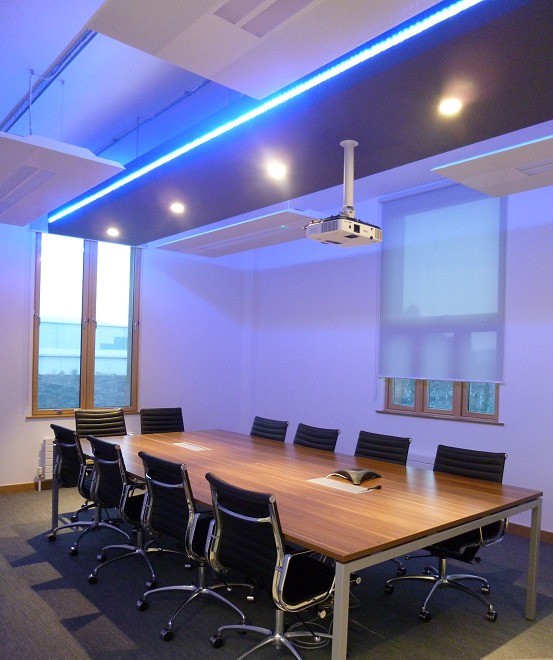
The boardroom, glimpsed in the background of the very first photo of part one, is now finished.
Wrap-up
I’m disappointed that the fit-out budget didn’t allow us to install Cat6. It’s a big shame in terms of future proofing the installation, but network performance over the Cat5e access ports has been entirely fine in practice, and the structured cabling is certified and warranted by a professional installer.
If I were doing this again, or arguing the case for the next one, the headline lessons are:
- Cable to Cat6 with multi-mode fibre runs, and do it as part of the initial cabling project. Retrofitting any cable type after the floor and dado are closed costs disproportionately more than getting it right first time.
- Use a structured cabling contractor who will certify and warrant the install. Make it as fast as you can afford. The cables outlive the kit at both ends.
- All cabling up to fire code, with proper fire stops between compartments. This is non-negotiable in a shared office block.
- Run flexible power under the floor, terminated in IP44 commando sockets, so racks can be re-positioned without re-wiring the DB.
- Size the UPS for the actual critical load, with realistic runtime, and consider a generator for prolonged outages if uptime warrants it.
- More space under the raised floor. 11cm of clearance with pre-existing building services running through it is not enough, and I designed around it rather than fixing it.
- Survey the floor void and building services before the drawings are final. Designing around the pipework instead of around the brief had consequences that cascaded: cab 1 and cab 3 swapped roles, the row couldn’t be oriented for a hot/cold-ish split, and the AC cassette had to be re-sited above the DB rather than across the row of cabinets. Properly surveying the building first wasn’t really an option here: the space was a new-build constructed for general office use, and we were too far down the stakeholder chain to influence where the building services went in. Unintended consequences in the fit-out were the natural result, but thankfully nothing the team couldn’t work around.
- More space generally, better physical security, water detection, and proper environmental monitoring rather than a hygrometer on the sill.
- Multi-homed BGP resilience at the carrier level, sized to the cost of downtime to the business. We have it; smaller offices often don’t, and regret it the first time the only circuit goes dark.
The bigger lesson is that the design has to be appropriate to the requirements of the business: the cost of downtime, the cost of recovery, the cost of employee idle time, the cost of lost sales, and the cost of poor publicity. Build for that, not for what a hyperscaler would do.
It’s worth reading what the very large operators do, even if you’ll never build at that scale. Facebook’s data centre fabric write-up is a good example: they make the case that forcing air through a raised-floor plenum and perforated floor tiles is an inefficient use of energy, and instead pressurise the entire data hall with cool air. That isn’t a lesson you can directly apply to three cabinets in an office block, but the underlying point (design for the actual thermal load and stop copying patterns from the last room you built) is universal. Keep an eye on hardware lifecycles too: Cisco’s published end-of-life schedules are a useful reminder that anything bought today has a defined runway and should be planned out, not panicked out.
A well-built server room lasts ten to fifteen years. This one should comfortably see out that horizon at this site, and if and when the business outgrows it again, most of the lessons above will still apply.